Dedicated Manufacturer and Exporter of Premium Dried Fruits, Natural Fruit Bars, and Flavored & Coated Nuts
- Home
- /
- Knowledge Hub
- /
- How to Dry Fruit at Home — And Why Serious Brands Go Professional
How to Dry Fruit at Home — And Why Serious Brands Go Professional
How do you dry fruit at home? Whether you have a food dehydrator, a standard oven, or just a sunny balcony, there is a method that works for you and this complete guide covers all of them, with everything you need to know to get consistently good results. No equipment is required beyond what most kitchens already have. What is required is attention to a few key preparation steps that most guides skip and that make the difference between great home dried fruit and a disappointing experiment.
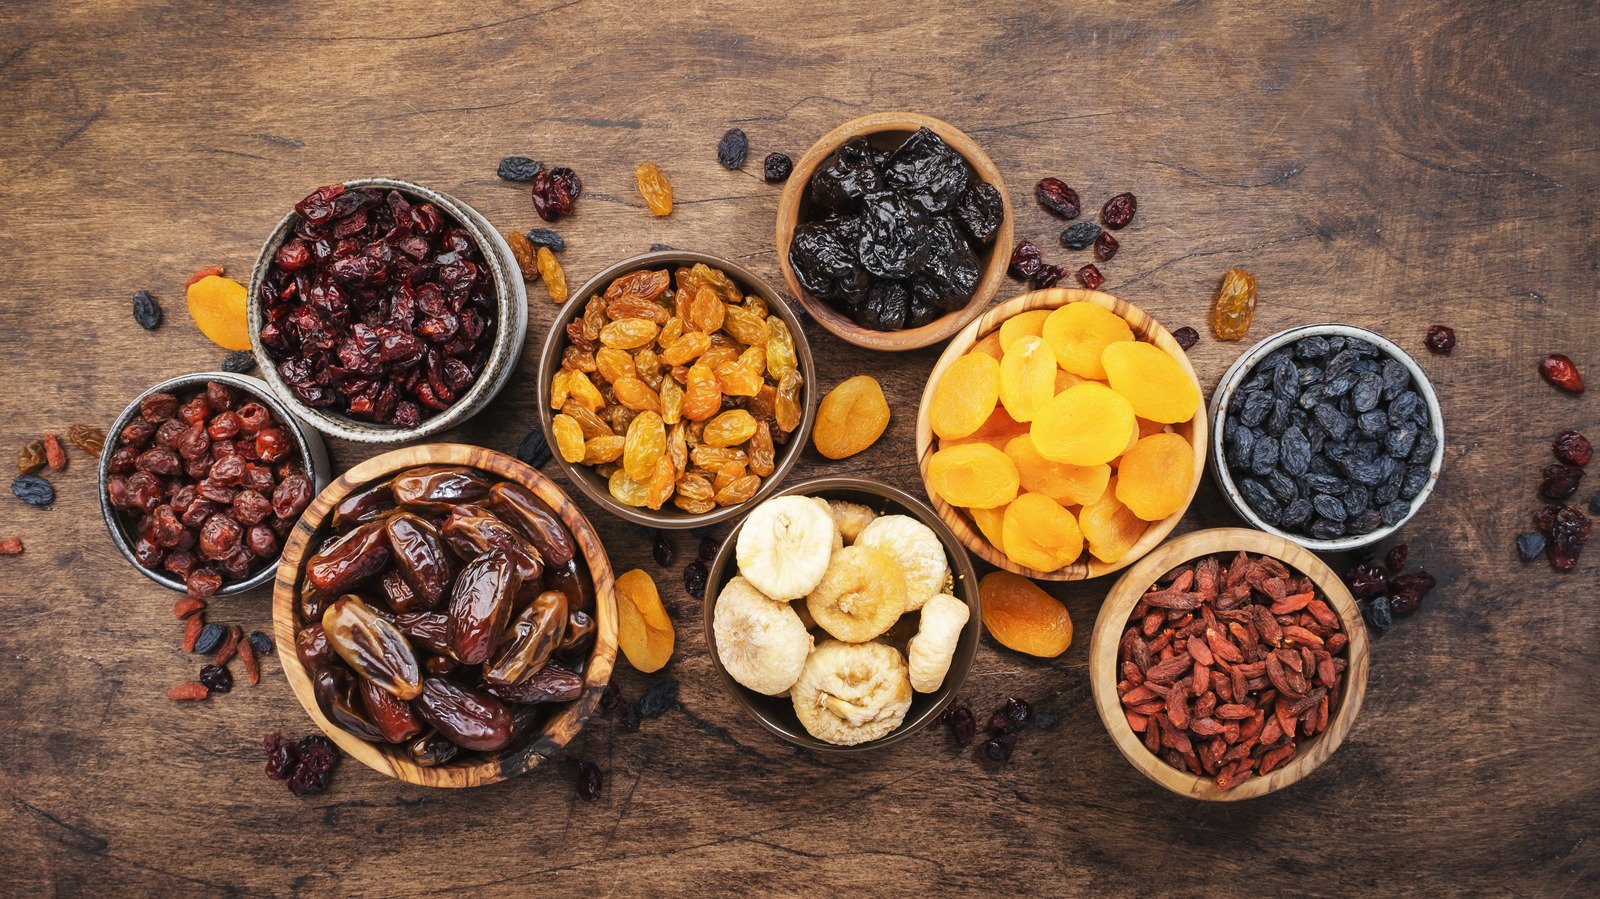
Why Dry Fruit at Home? Four Compelling Reasons
- Reducing food waste: A bowl of fruit that is slightly past its fresh-eating peak but still perfectly good is an ideal candidate for home drying. Turning overripe bananas, soft mangoes, or bruised pineapple into shelf-stable snacks is one of the most practical food-waste reduction strategies available.
- Cost efficiency: During peak fruit seasons when mangoes, pineapples, and other tropical fruits hit their lowest farmgate prices, buying in volume and drying the surplus can produce dried fruit at a fraction of the cost of equivalent commercial products.
- The satisfaction of making: There is a genuine pleasure in opening a jar of fruit you dried yourself six weeks ago. Home drying connects you to the process in a way that purchasing a commercial product never quite replicates.
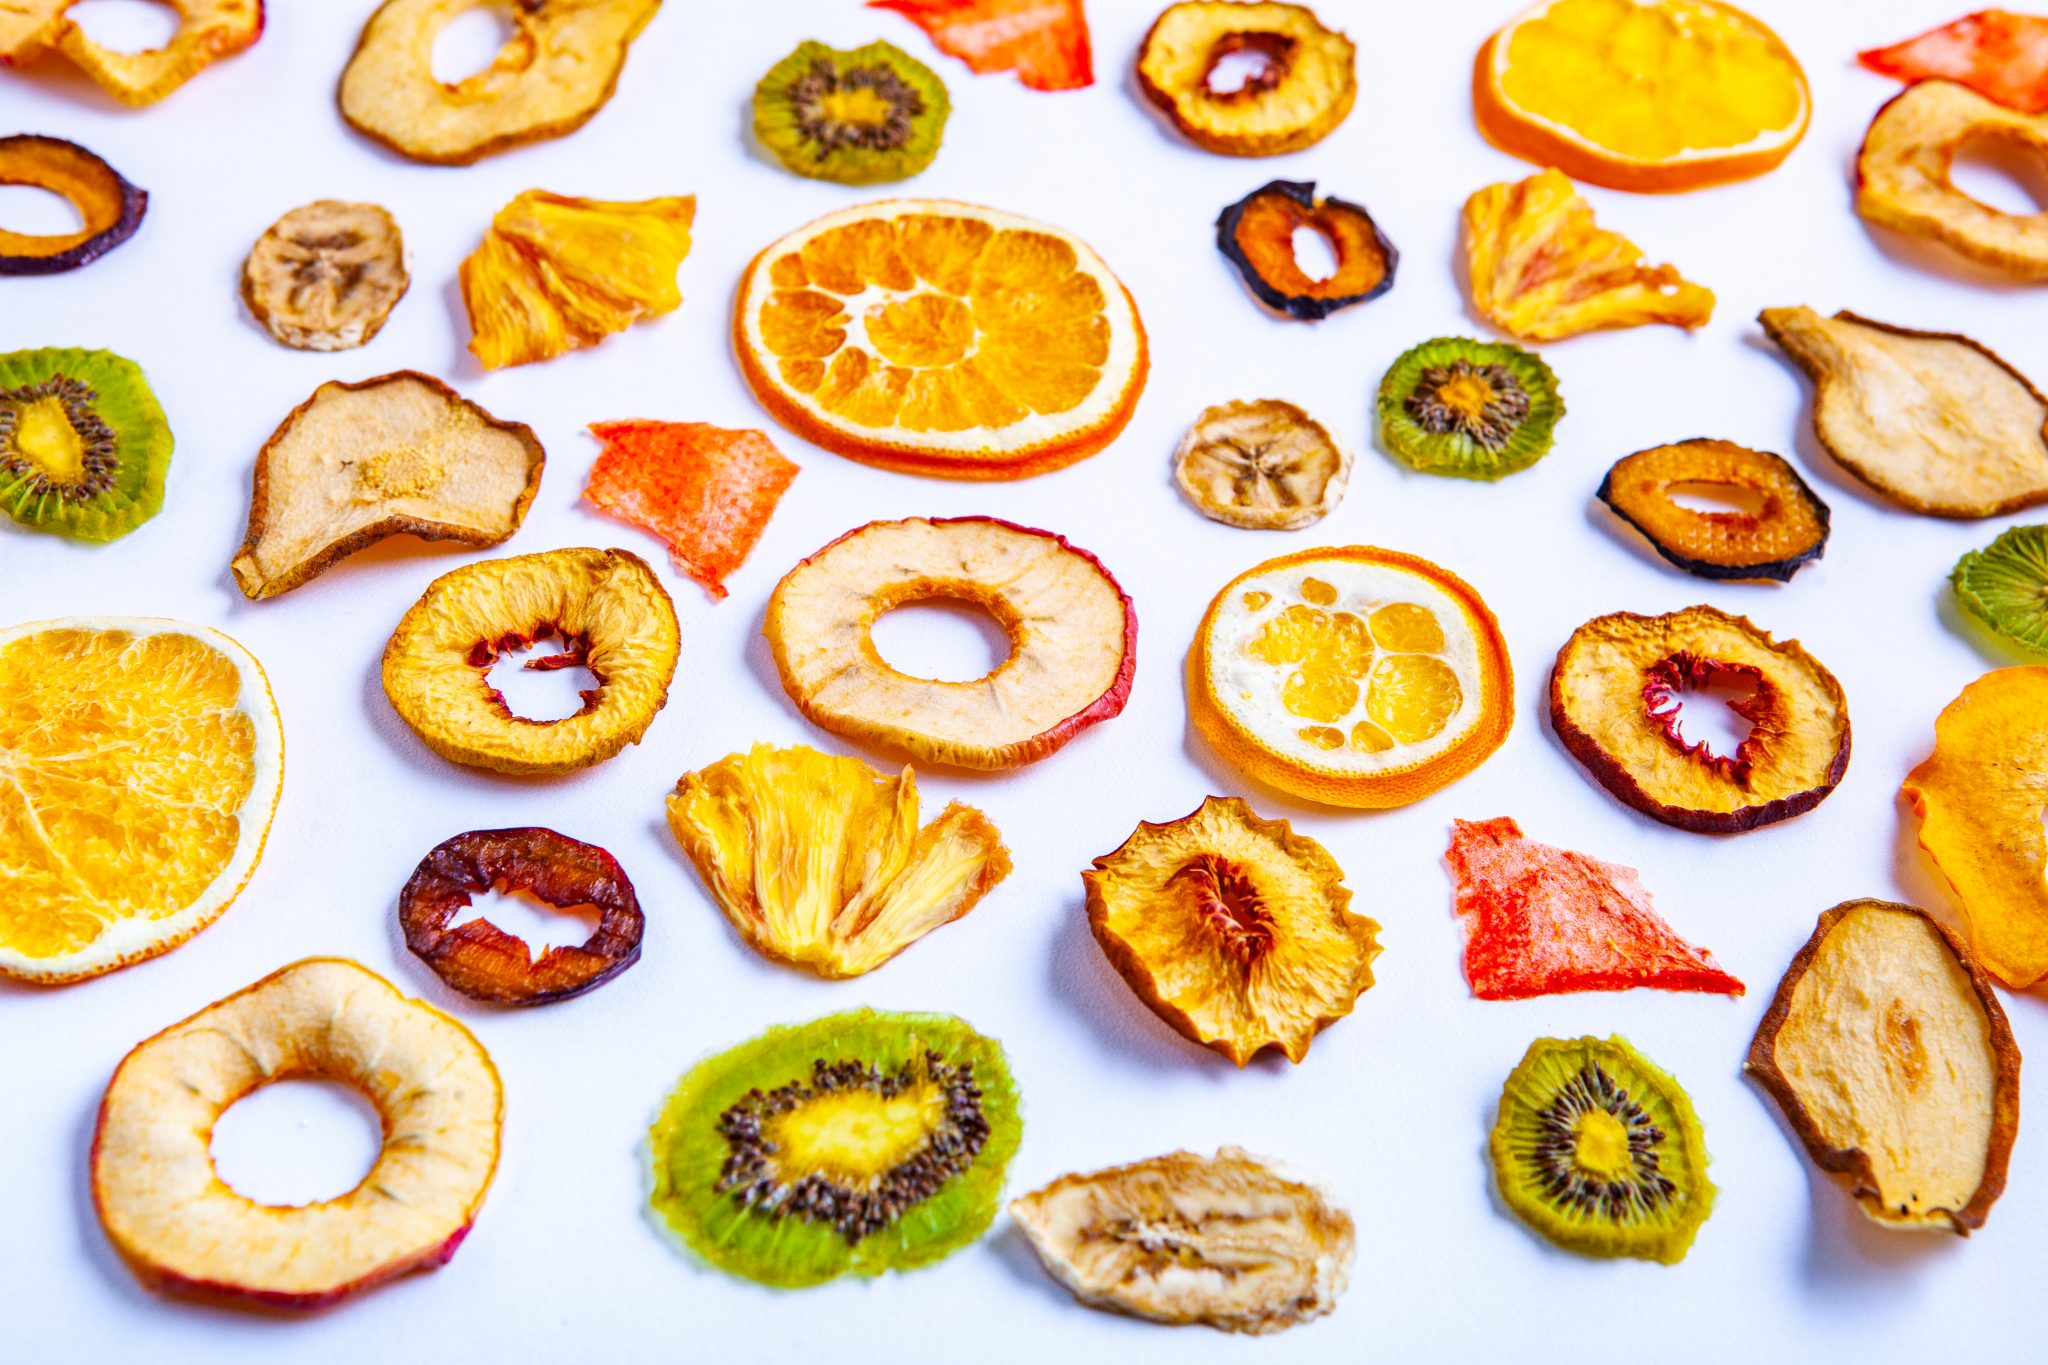
Best Fruits to Dry at Home: A Practical Guide by Difficulty
- Begin here: Apple slices (4-5mm), pear slices, banana coins (4-5mm), strawberry halves, and mango strips (5-7mm) all produce reliable, enjoyable results with minimal technique. These fruits have forgiving sugar content and moisture levels that produce consistent outcomes across most home equipment.
- Worth attempting: Pineapple rings (5mm), peach halves (skin-on), papaya chunks (6-8mm), and apricot halves require slightly more attention to pre-treatment and drying time but reward the extra care with excellent flavour.
- When you have the basics: Dragon fruit slices (high moisture content, needs patience), passion fruit (complex structure), and citrus rounds (decorative/flavouring use). These varieties require longer drying times, more frequent checking, and benefit from pre-treatment more than the easier options.
How Do You Dry Fruit at Home: The Universal Step-by-Step Process
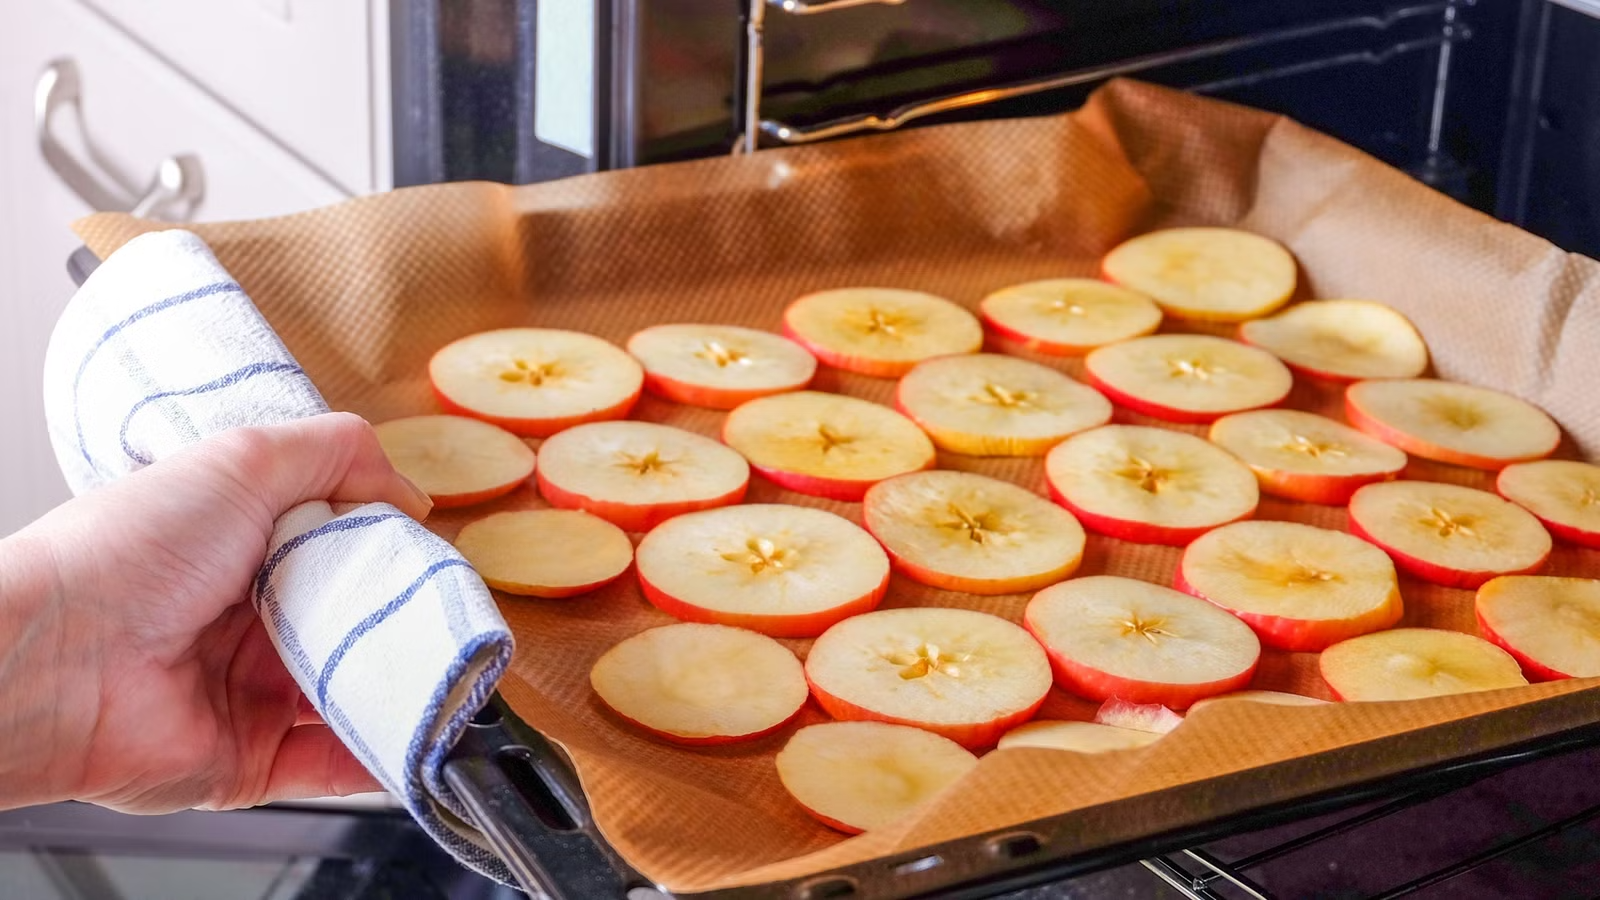
Step 1. Preparation: Setting Up for Success
Start with fruit at peak ripeness not overripe. Wash thoroughly under cold water and dry with a clean cloth. Peel where appropriate (mango, pineapple, papaya), remove seeds, stones, or cores, and prepare your slicing setup. The single most important preparation step when you dry fruit at home is slicing to uniform thickness. A mandoline slicer is ideal; a sharp knife with a measured guide works well. Inconsistent slice thickness is the leading cause of poor home drying results: thick pieces remain moist while thin pieces over dry in the same batch.
Step 2. Pre-Treatment: Protecting Colour and Improving Texture
Enzymatic browning the same reaction that turns cut apples brown on a plate occurs in most fruits during the slow early phase of drying. A simple dip prevents this and dramatically improves the visual quality of home dried fruit.
- Standard dip: 1 tablespoon lemon juice or 1 teaspoon ascorbic acid powder dissolved in 500ml cold water. Submerge sliced fruit for 2-3 minutes, then shake off excess.
- Blanching (for firmer fruits): 30-60 seconds in boiling water, immediately followed by cold water plunge. Completely stops enzymatic browning but slightly softens texture.
- Light sugar dip (optional for softer texture): 1 part sugar to 5 parts water, 5-minute soak. Skip if you want a completely no-added-sugar product.
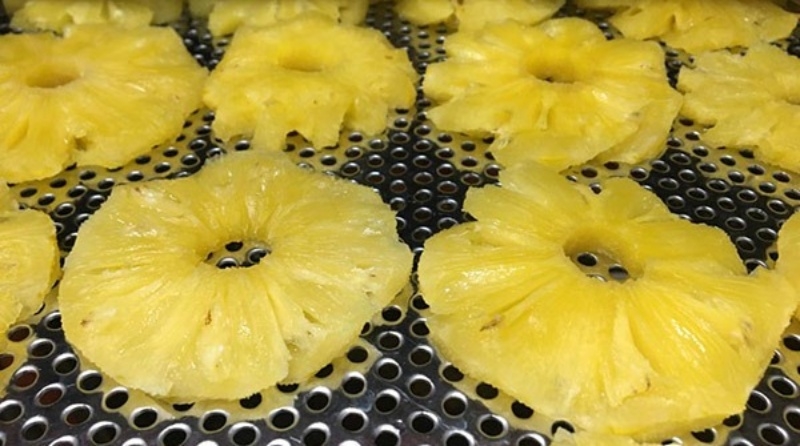
Step 3. Drying: Temperature, Time, and Airflow
Set your oven or dehydrator to 55-65 degrees C (130-150 degrees F). Fan-assisted mode is strongly preferred. Arrange fruit in a single layer on wire racks with space between each piece no touching, no overlapping.
For oven drying: prop the door open 2-3cm with a folded cloth to allow humid air to escape. This step is frequently overlooked and frequently responsible for slow, uneven results when drying fruit at home in a conventional oven. Check and flip every 2 hours. Drying time varies: 4-8 hours for thin temperate fruit slices; 7-14 hours for tropical fruits. Start checking from the lower end of the range and add time as needed.
Step 4. Testing for Doneness: The Reliable Method
Remove one piece and allow it to cool completely to room temperature 10-15 minutes on a wire rack. Do not test warm fruit: it always feels softer than its final texture, which leads to under drying.
- Touch test: the piece should be leathery and pliable, not sticky (too moist) or brittle and hard (too dry).
- Bend test: it should flex without snapping cleanly in two. A clean snap indicates over-drying.
- Squeeze test: squeeze a piece firmly in your hand. When released, it should not stick together. Sticking indicates excess surface moisture.
Step 5. Conditioning and Storing Home-Dried Fruit
Cool all finished pieces completely on a wire rack before handling. Conditioning: place loosely in clean glass jars (not sealed) at room temperature for 5-7 days. Shake daily. This equalises moisture distribution across the batch.
After conditioning, seal jars tightly. Store in a cool, dark location pantry cupboard, not near the oven or refrigerator top. Expected shelf life: 3-6 months at room temperature for well-dried product; 12+ months frozen with no quality loss.
Home Drying vs. Professional Drying: Why Serious Brands Go Professional
Home drying is genuinely rewarding and produces results that are often better than mass-market commercial alternatives. But the gap between home results and professional heat pump dried fruit is real, and understanding it explains why food brands and retailers partner with professional manufacturers rather than scaling up home methods.
The decisive factor is Stage 2 temperature. When you dry fruit at home, the entire drying process runs at 55–65 degrees C the minimum practical temperature for conventional equipment. Professional heat pump drying runs Stage 1 at 60-65 degrees C (free water removal) and then drops to 25-30 degrees C for Stage 2 (bound water removal) using a condensing unit that removes humidity from the drying air.
This 25-30 degree C Stage 2 temperature is physically impossible to achieve with home ovens, air fryers, or dehydrators and it is precisely where the colour vibrancy, aroma intensity, and Vitamin C retention of premium dried fruit are determined. Nong Lam Food's professionally produced dried mango, pineapple, passion fruit, and other tropical varieties are not simply better home drying at scale. They are the result of a different physical process that preserves more of what nature put into the fresh fruit and that difference is visible in the colour, smellable in the aroma, and measurable in the nutritional data.

Conclusion: How to Dry Fruit at Home and When Professional Wins
The answer to how do you dry fruit at home is accessible, practical, and genuinely satisfying: uniform slicing, correct pre-treatment, 55-65 degrees C with good airflow, patience, and proper conditioning and storage. These steps produce dried fruit that is additive-free, personalised to your taste, and far more nutritious than most people expect from a home process.
For personal snacking, food waste reduction, small-batch gifting, and the pleasure of making your own food home drying is the right answer. For retail products, export, health-claim products, or anything requiring consistent quality at scale with 12–18 month shelf life professional heat pump drying delivers a product that home equipment cannot match, regardless of how carefully the process is managed.
See what professional drying looks and tastes like request samples from Nong Lam Food at vietnamdriedfruits.vn and compare directly with your best home results.
Related information
- Vietnam Durian Seasons Explained: When to Source the Best Quality
- List of Fruits High in Vitamin C: From Everyday Picks to Tropical Powerhouses
- Best Jackfruit Varieties: Nutrition, Flavour, and What Makes Each One Special
- How to Freeze Dry Fruit Without a Freeze Dryer: Home Methods vs. Commercial Reality
- Brown Coconut Benefits: What Makes the Mature Coconut Nutritionally Distinct
- Dried Fruit Shelf Life Explained: How Long It Lasts and How to Store It Right
PRODUCT CATEGORIES
NEWS
-
Dried Mango Preservation: How to Store It Right and Keep It at Its Best
-
Brown Coconut Benefits: What Makes the Mature Coconut Nutritionally Distinct
-
Benefits to Eating Coconut: Nutrition Facts and What the Science Actually Says
-
Best Jackfruit Varieties: Nutrition, Flavour, and What Makes Each One Special
Partner with us to provide and elevate healthier food options while supporting sustainable agriculture with a passion to serve and a commitment to innovation. Together, we can improve the lives of disadvantaged farmers and generate a positive impact!